How to Install Shark Navigator Replacement Parts: A Step-by-Step Guide
Introduction
In this guide, we'll walk you through the process of installing replacement parts for your Shark Navigator vacuum. Whether you're dealing with a broken brush roll or a faulty hose, this comprehensive guide will help you restore your vacuum's performance. Watch the video tutorial [here](YouTube Video URL) for a visual step-by-step process.
Why Replace Shark Navigator Parts?
Over time, even the best vacuums can suffer from wear and tear. Common issues like poor suction, a noisy brush roll, or a damaged hose can significantly reduce cleaning efficiency. By replacing worn-out components, you can extend the lifespan of your vacuum and maintain its powerful cleaning capabilities.
Tools You'll Need
Before you begin, make sure you have the following tools at hand:
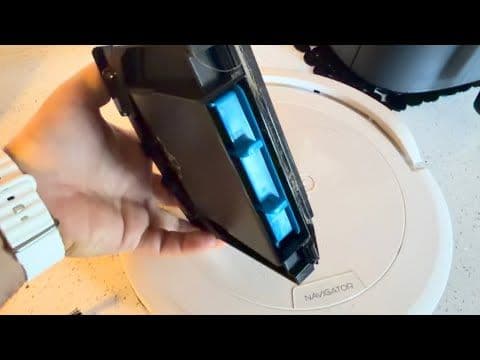
Step-by-Step Installation
Step 1: Prepare Your Vacuum
Unplug your vacuum and place it on a clean, flat surface. This ensures safety and stability as you work on replacing the parts.
Step 2: Remove the Old Parts
Use your screwdriver to carefully remove screws securing the old parts. Keep track of all screws and components to avoid any mix-ups during reassembly.
Step 3: Install the New Parts
Align and attach the new parts, ensuring a snug fit for optimal performance. Refer to your vacuum's manual for specific instructions if needed.
Step 4: Test Your Vacuum
Once the replacement parts are installed, plug in your vacuum and test it on different surfaces to ensure everything is functioning correctly.
Where to Buy Shark Navigator Replacement Parts
You can find compatible Shark Navigator replacement parts on Amazon. Check the video description for purchase links or buy directly [here](https://www.amazon.com) (Affiliate).
Conclusion
By following these simple steps, you can keep your Shark Navigator vacuum in top working condition, ensuring a clean and fresh home environment. Regular maintenance and timely part replacements can go a long way in preserving your vacuum's performance.